Revit
Revit is one of the most widely used software applications for BIM modeling in the construction industry. It allows architects, engineers, and construction professionals to create detailed 3D models of their projects, which helps them visualize potential design issues early in the process. Our Revit plugin allows users to push their Revit model data (ie. Doors, Windows, Floors, Curtain Walls, and more) into Toric’s workspace for instant transformation and visualization of model data.
With the Revit plugin, Toric users can:
- Ingest endless versions of 3D data and use your models for analytics
- Clean and transform BIM data in a non-destructive way
- Join BIM data with other sources to make meaningful connections
- Easily perform model analysis, improve estimation accuracy, and increase speed to insights
- Leverage BIM models for interactive visualizations
Configuration guide
Setup Time: 2 minutes
Requirements:
- Active Revit Subscription
- Toric plugin for Revit
- Web Browser (Safari, Chrome, Edge, Firefox)
1. Navigate to Autodesk Revit Connector in Toric
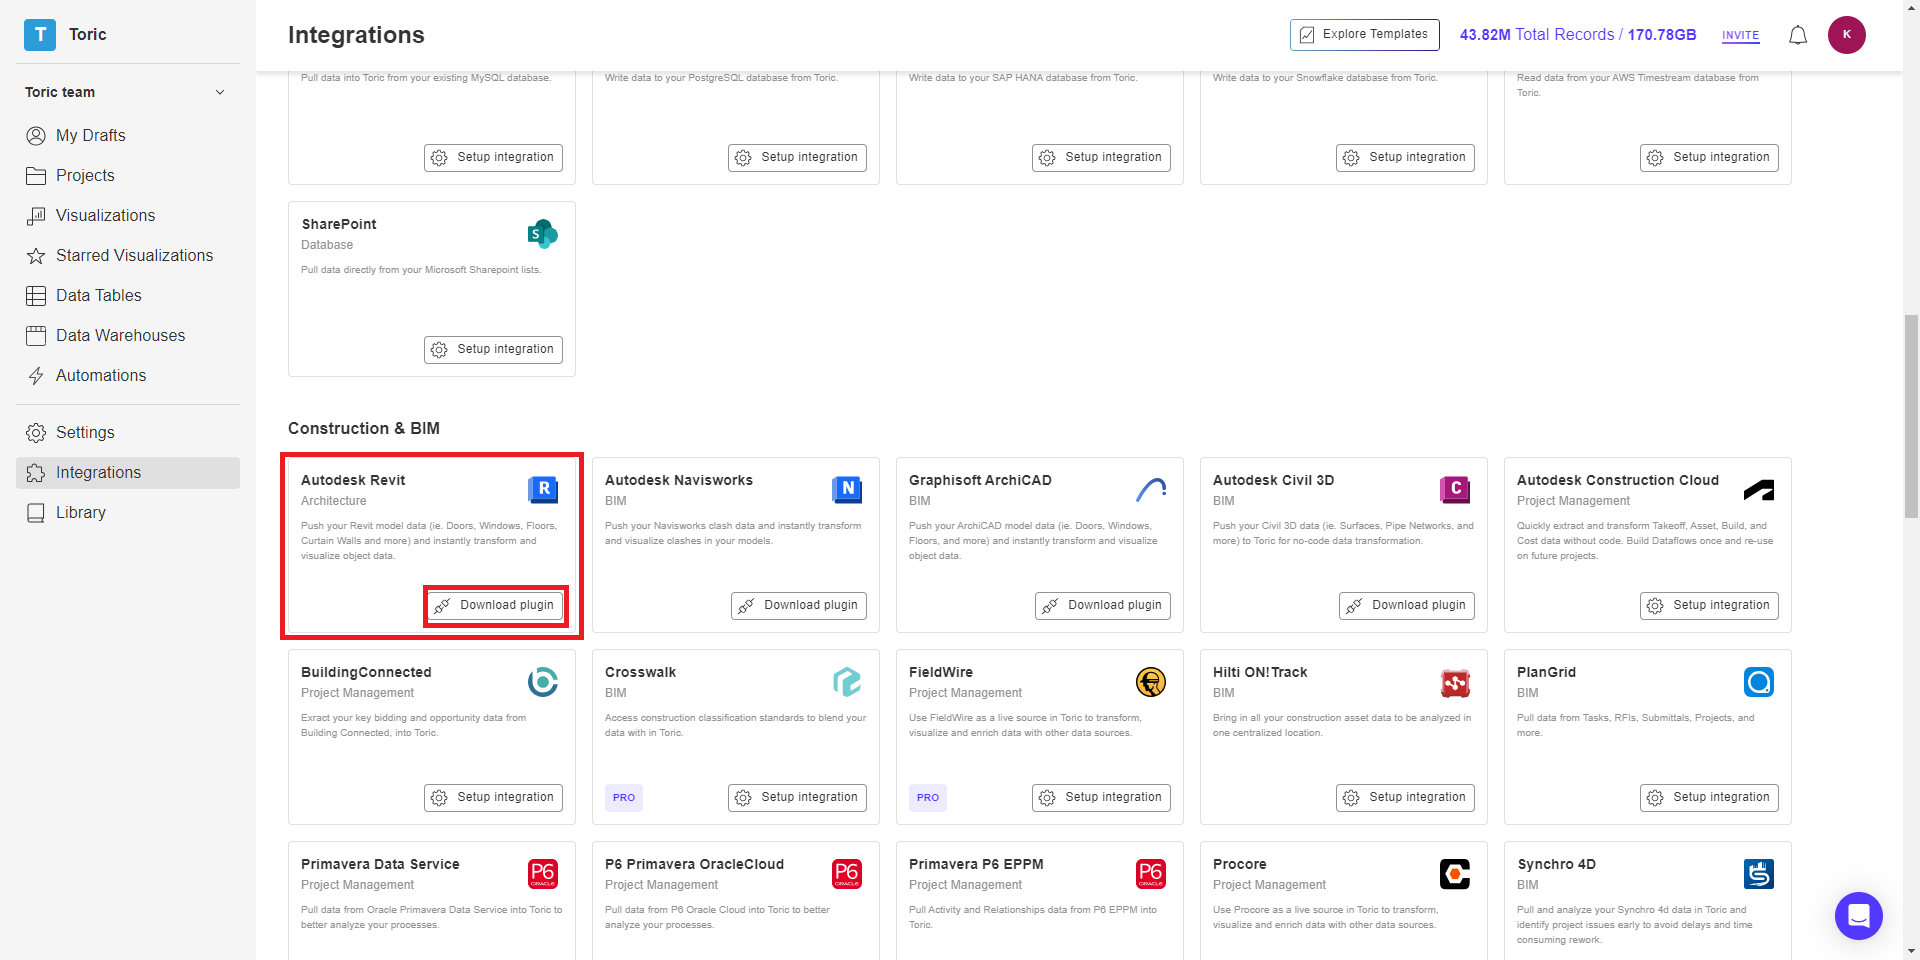
1.1 To find connectors in Toric, you must be signed in to your account. On the left side panel of your Workflow, click on "Integrations".

1.2 Navigate to the “Construction & BIM” header and under ‘Autodesk Revit’, click on ‘Download plugin’.
2. Open the Toric Plugin for Autodesk Revit
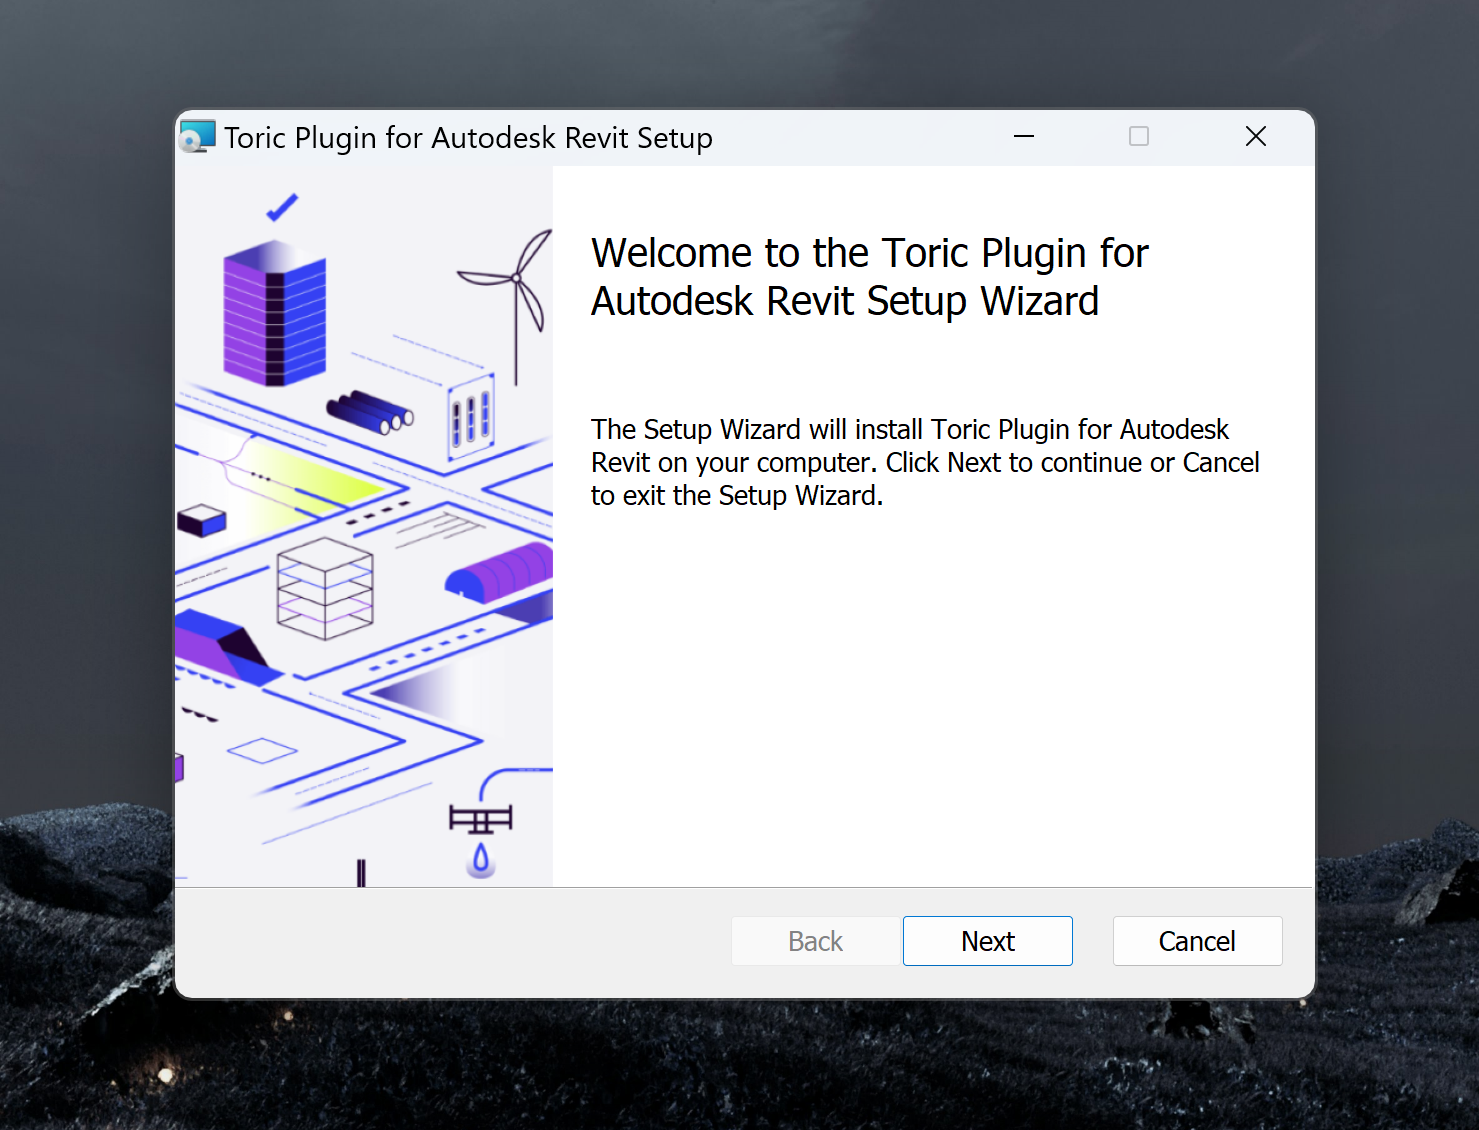
2.1 Open the downloaded Toric Plugin for Autodesk Revit and follow the instructions.
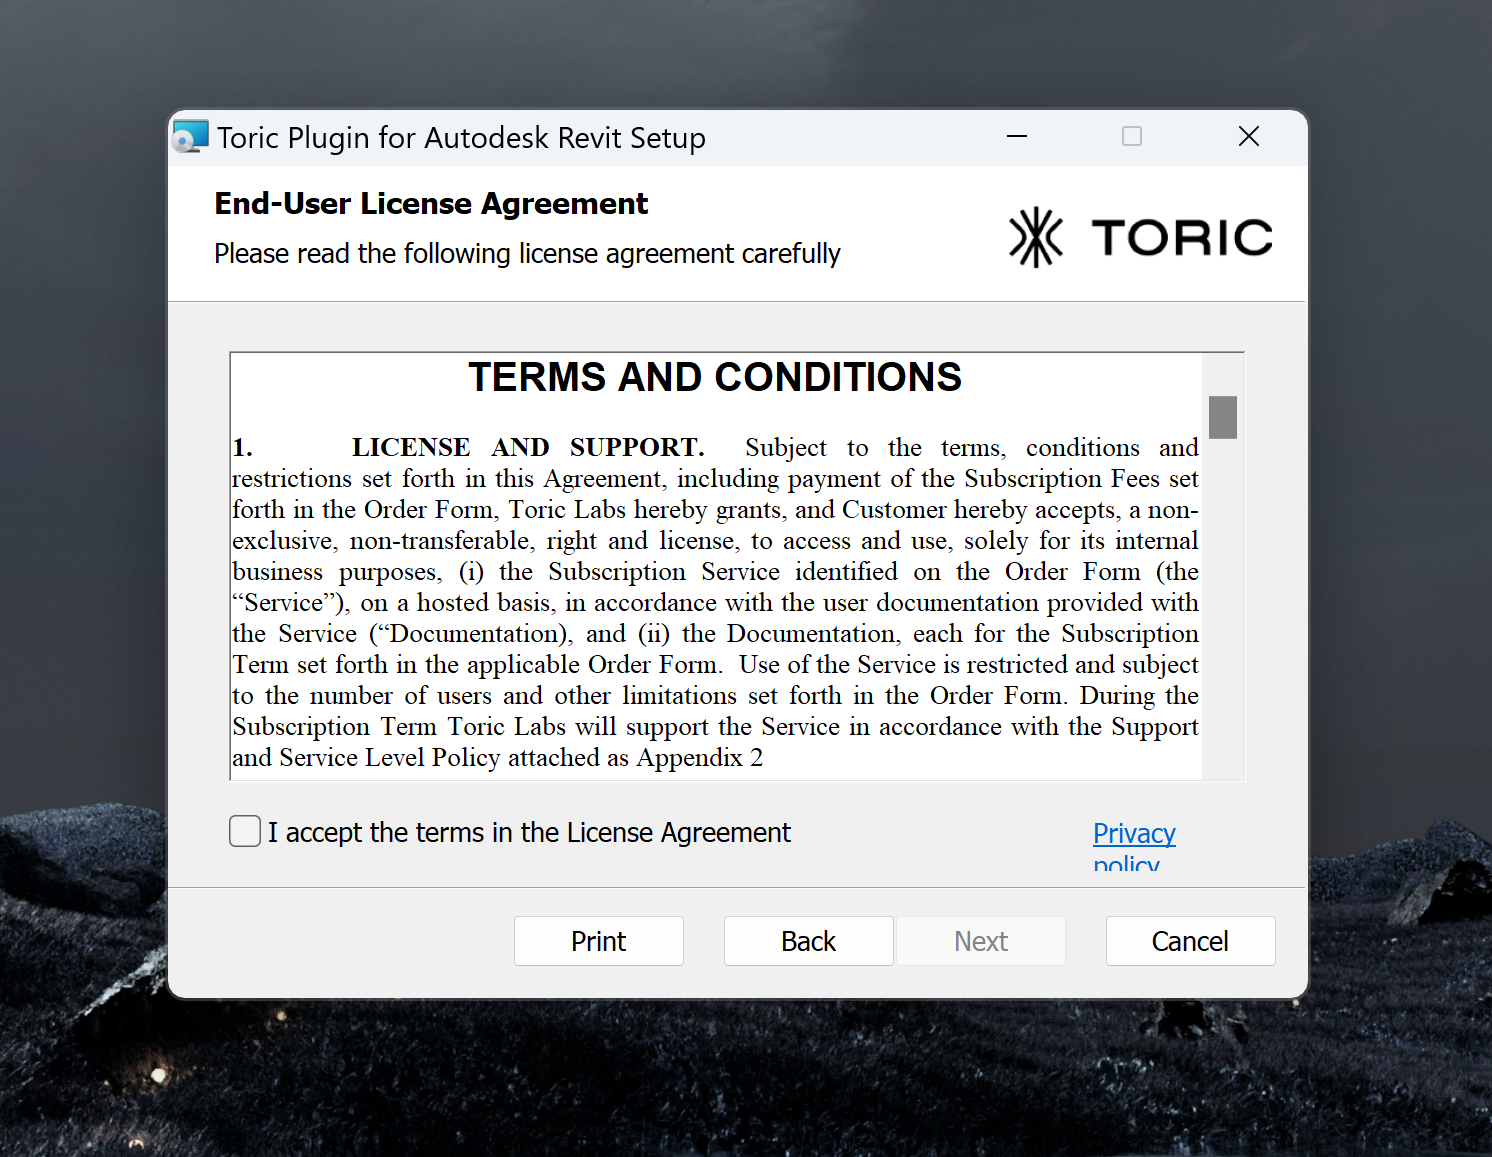
2.2 Tick the box if you wish to accept the terms of the License Agreement
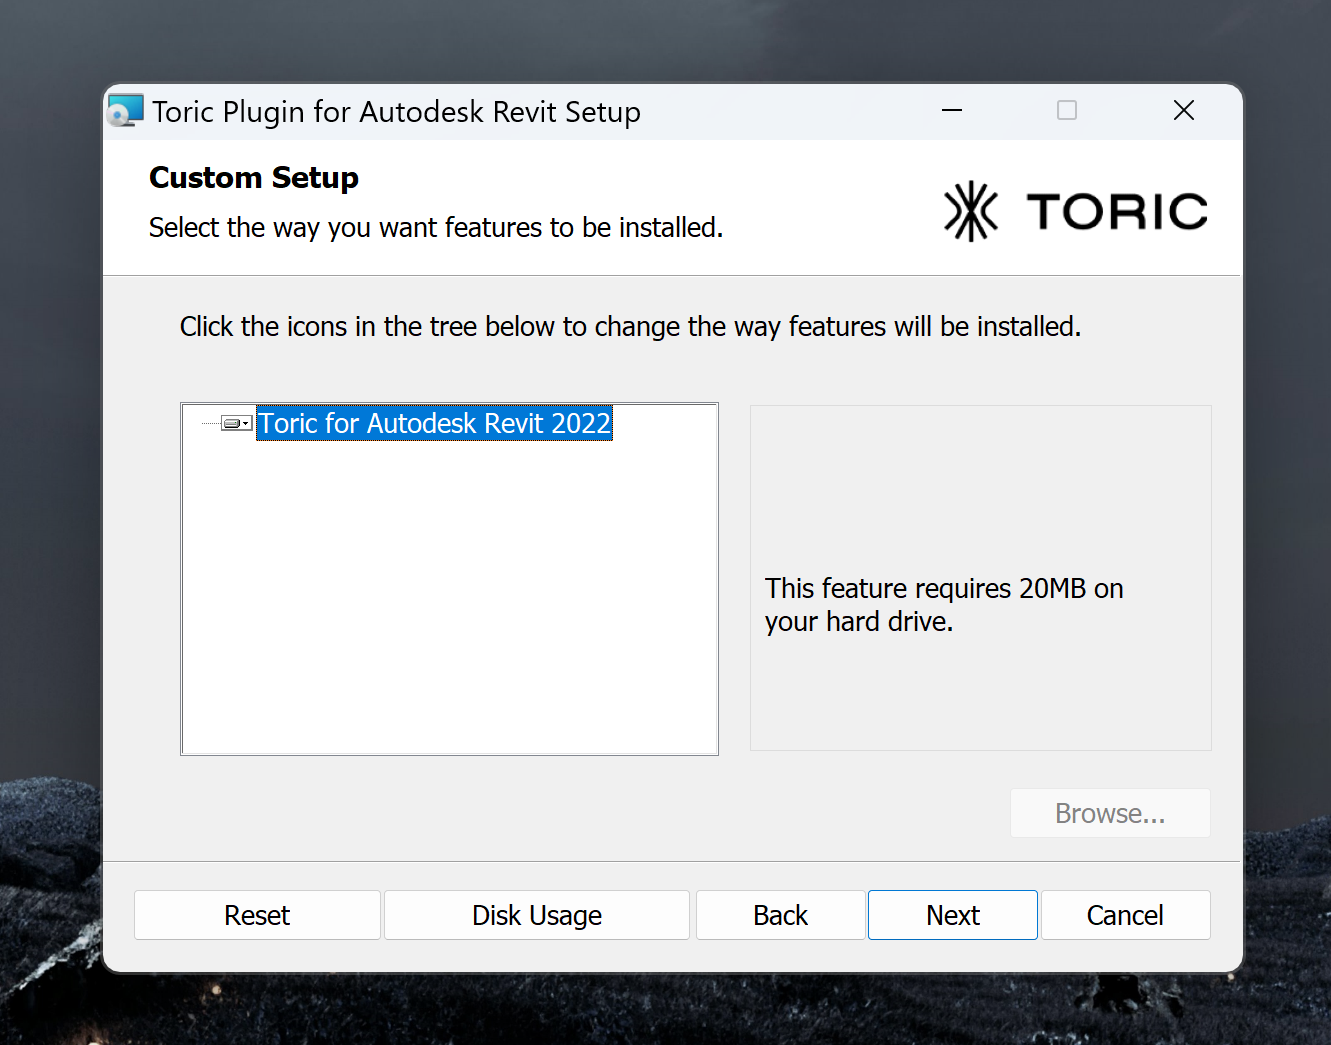
2.3 Select the way you want features to be installed and the Autodesk Revit version to install.
2.4 Click Install to begin the installation. A progress bar will appear to show you the status of your installation.

2.5 Click on Finish to exit the Setup Wizard
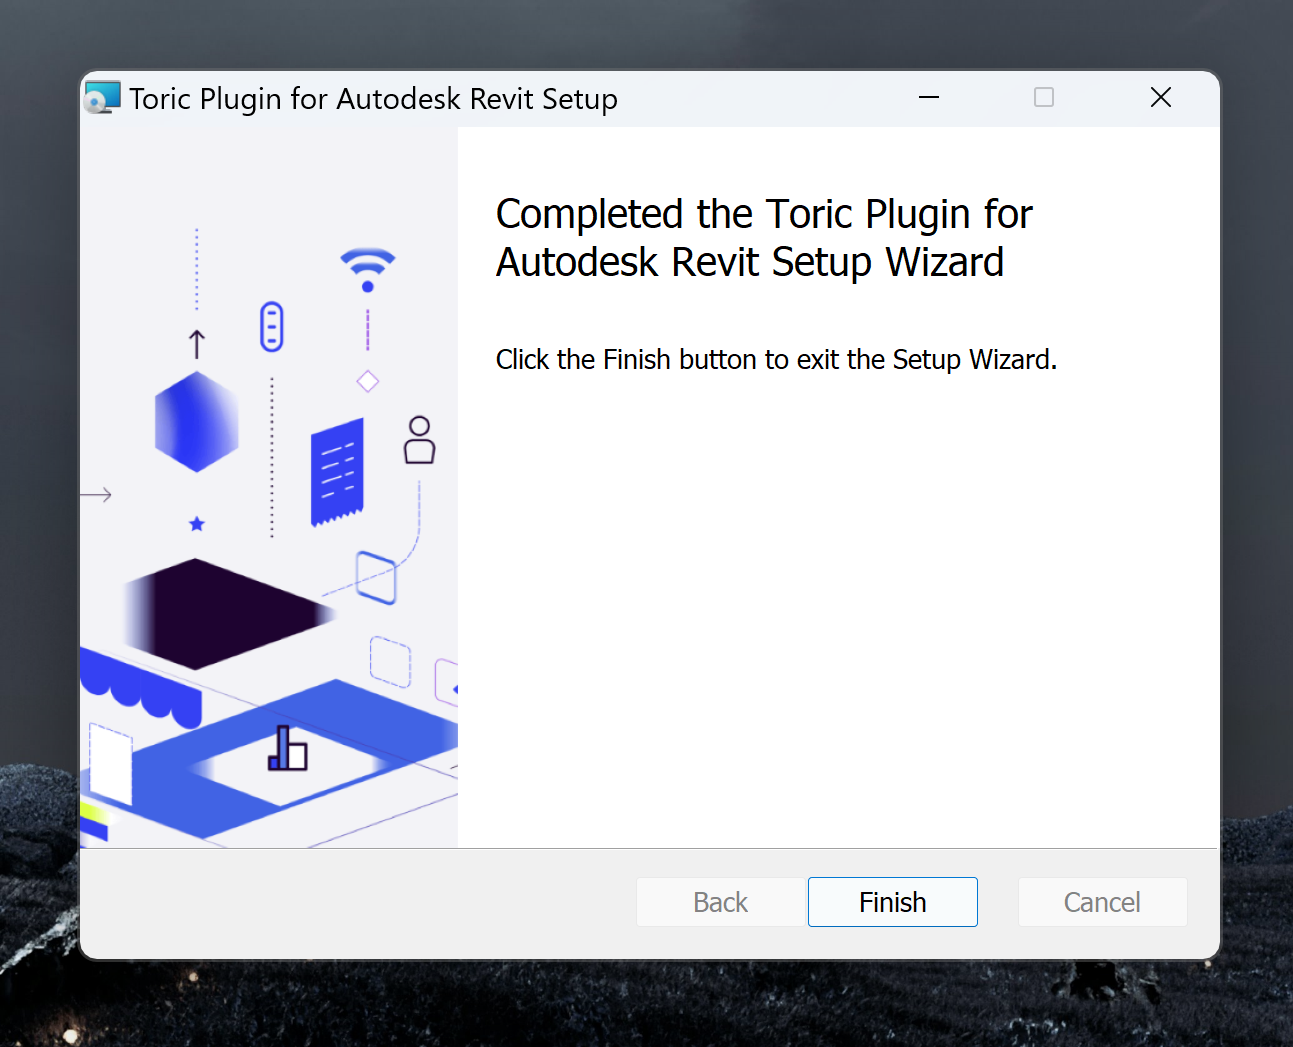
3. Access the Toric Plugin in Revit
3.1 A popup will appear on the first time you open Revit after installing the Toric Revit plugin. Chose the Always Load option to always have the plugin loaded into Revit.

3.2 Open the project you want to push to Toric. In the toolbar on the top of the page, there is now a new tab called Toric.

3.3 Click on the Toric tab and you will have access to the Toric icon.

3.4 Select the Toric icon and a popup will appear. Login to Toric using your Toric credentials or Sign in with SSO.

3.5 You have successfully finished setting up the Toric Plugin in Autodesk Revit!
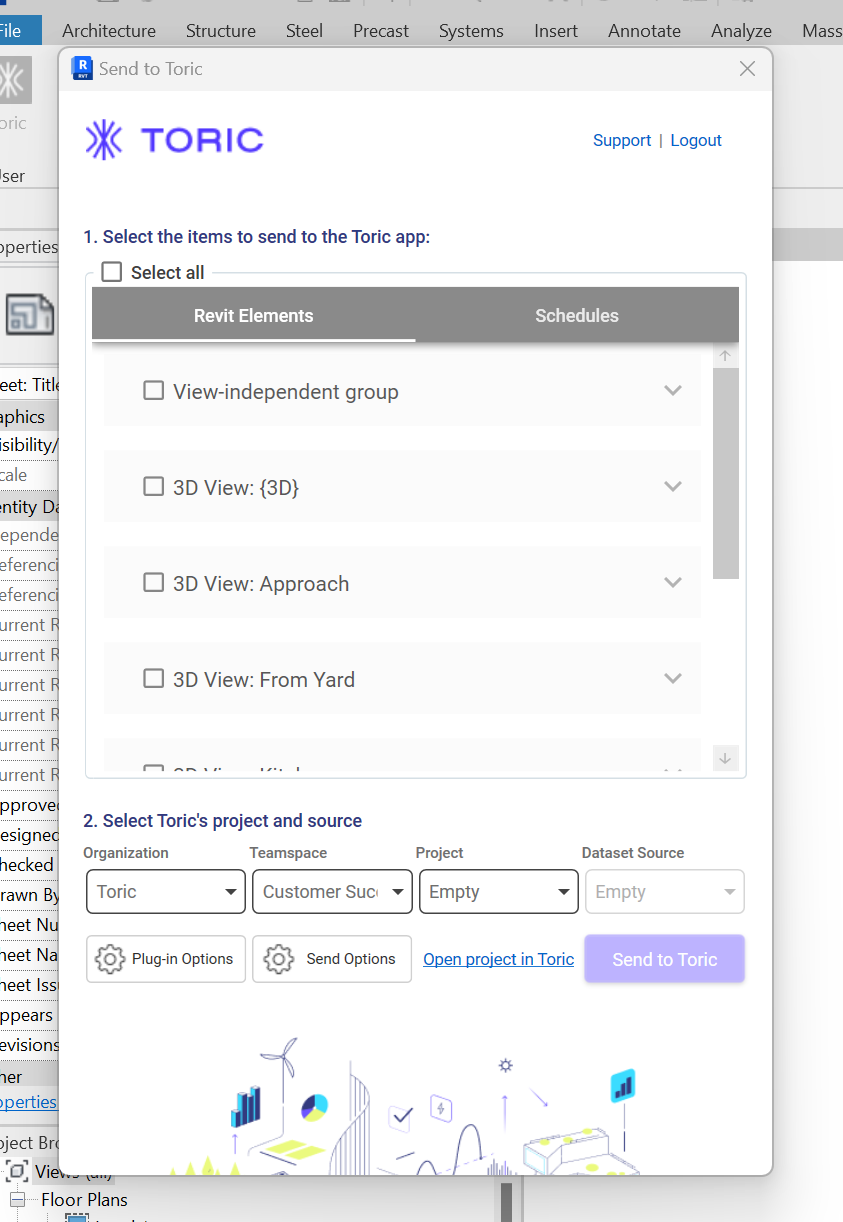
If you’re using an older version of Revit Plugin, the Plugin interface looks like below.
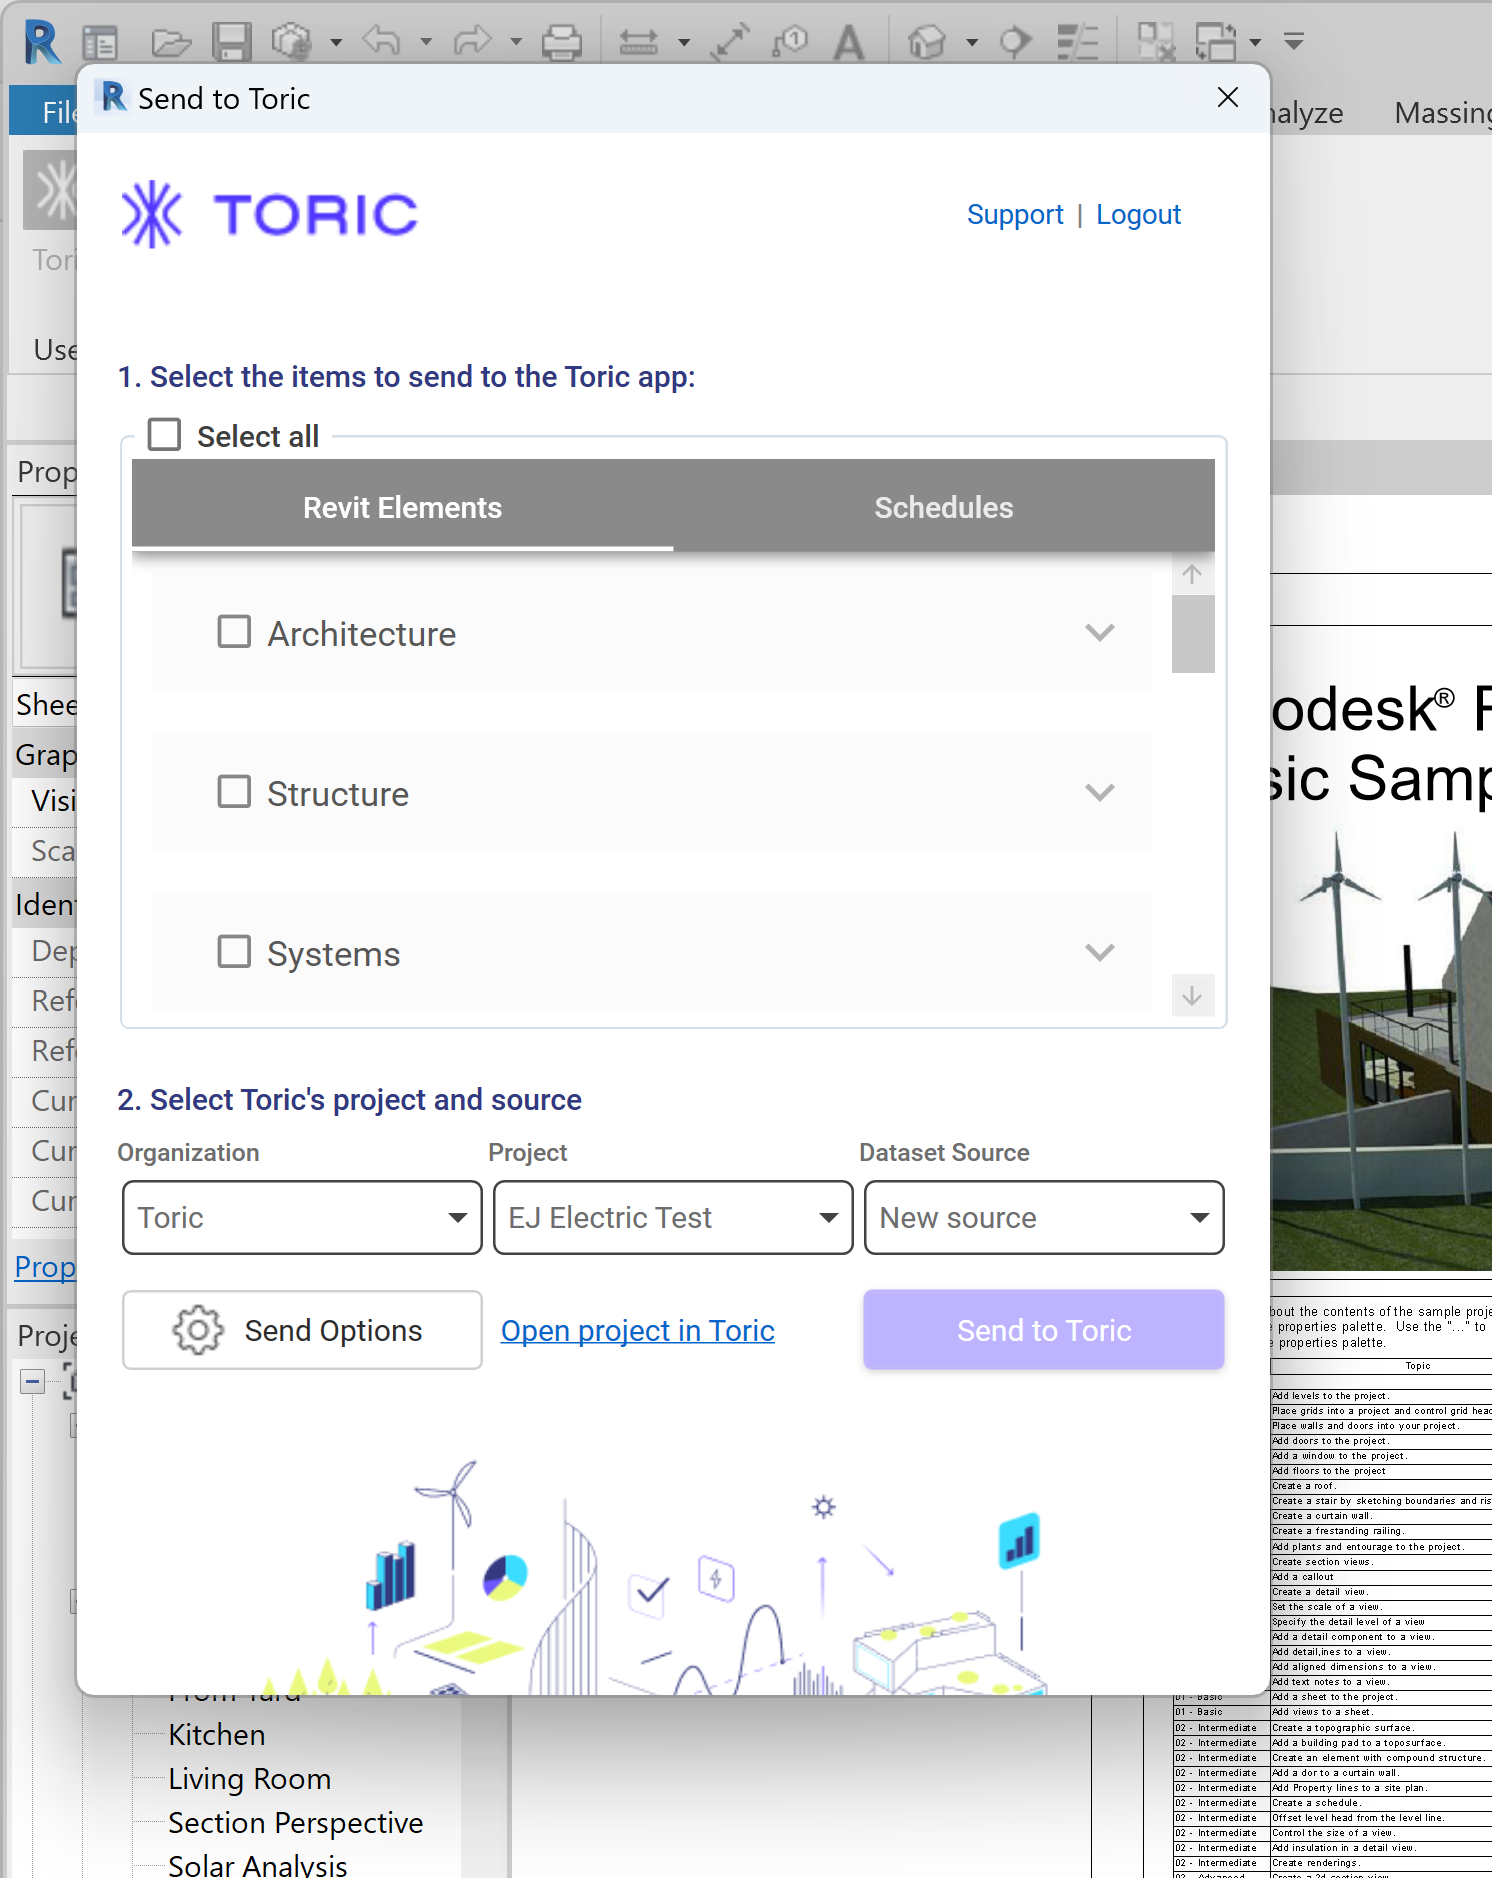
Data Access
| Elements |
|---|
| Architecture |
| Structure |
| Systems |
| Sub-Elements |
| Massing and Site |
| Spaces |
| Material |
| Project Info |
| Warnings |
| Annotations |
| Views |
| Generic Models |
| Schedules |
| Schedules |
Don't see the endpoints you are looking for? We're always happy to make new endpoints available. Request an endpoint here!
Integration Capabilities Supported by the Plugin
Toric ingests data from Revit via APIs, and we currently support data access to 10+ endpoints, including generic models, schedules, material, warnings, and more. File types supported for ingestion are:
- RVT
- IFC
Diagrams and Flowcharts
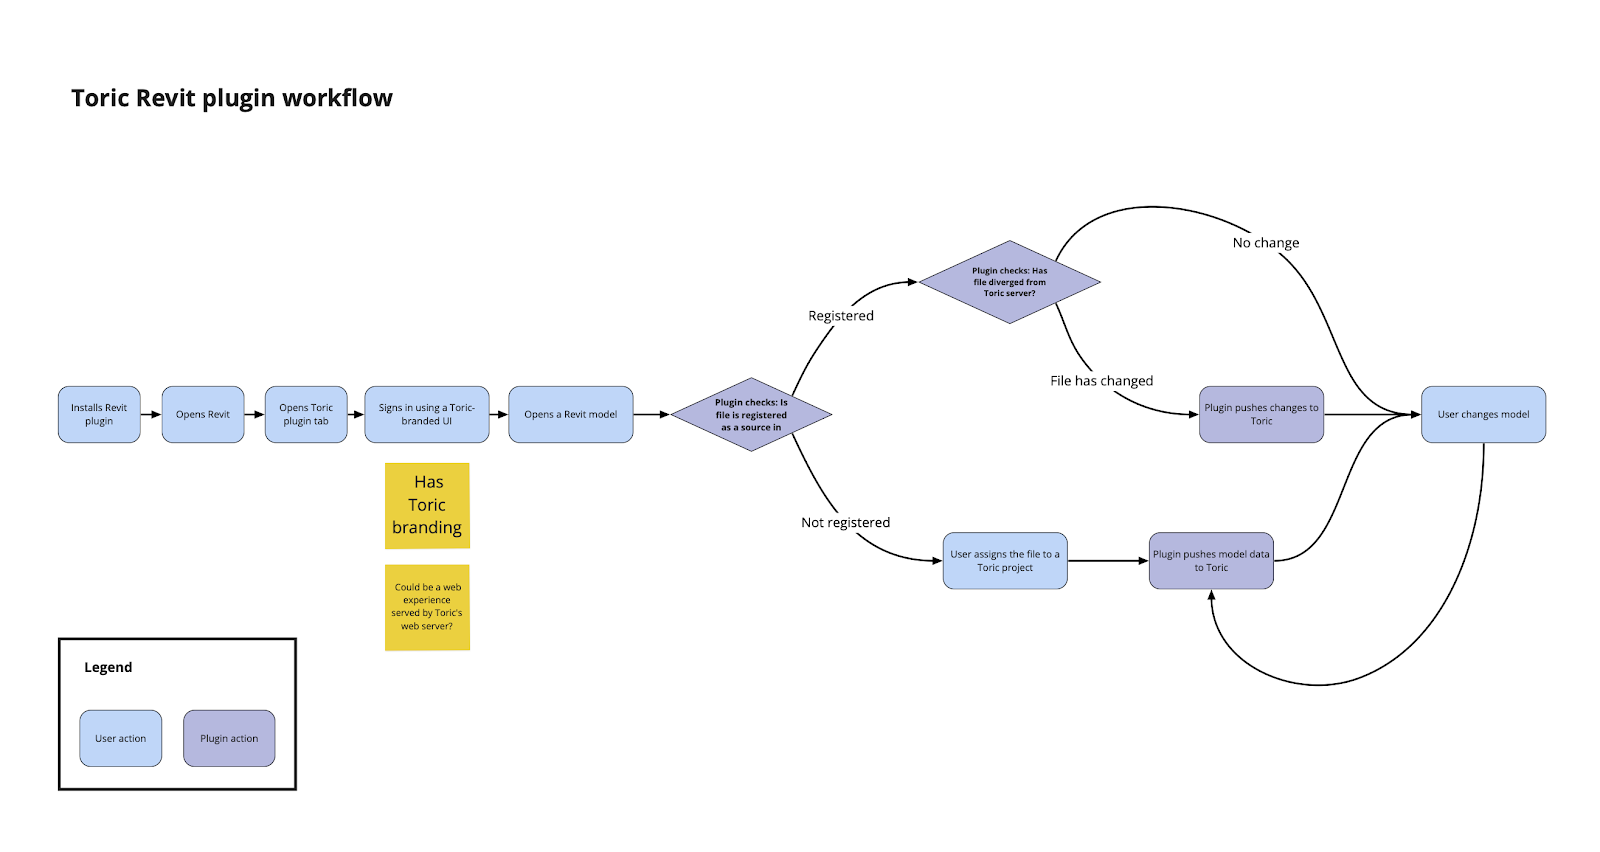
Related articles
Embed related articles below as a bookmark. Include both support and blog articles.
https://www.toric.com/support/how-to-use-the-toric-plugin
https://www.toric.com/blog/revit-data-cost-analytics-quantity-takeoff
https://www.toric.com/blog/how-to-use-revit-data-to-perform-a-model-audit-for-warnings
Questions?
We're very happy to help answer any questions you may have. Contact support here or send us an email at support@toric.com.
Don't see the Endpoints you are looking for? Need more information about Incremental Ingestion as it relates to specific endpoints? We're always happy to make new endpoints available and provide our customers with more information. Please reach out to support@toric.com with your request and questions.


